MEN & WOMEN PASSIONATE ABOUT PASSING ON AN AGE-OLD ART
Ancestral know-how combining noble materials and precision work
Making a makhila requires a great deal of know-how: woking with medlar wood, shaping and decorating the metal and braiding the leather. All our craftsman and women have been trained in our workshop by the previous generation.
The 7 stages of know-how to make a Makhila
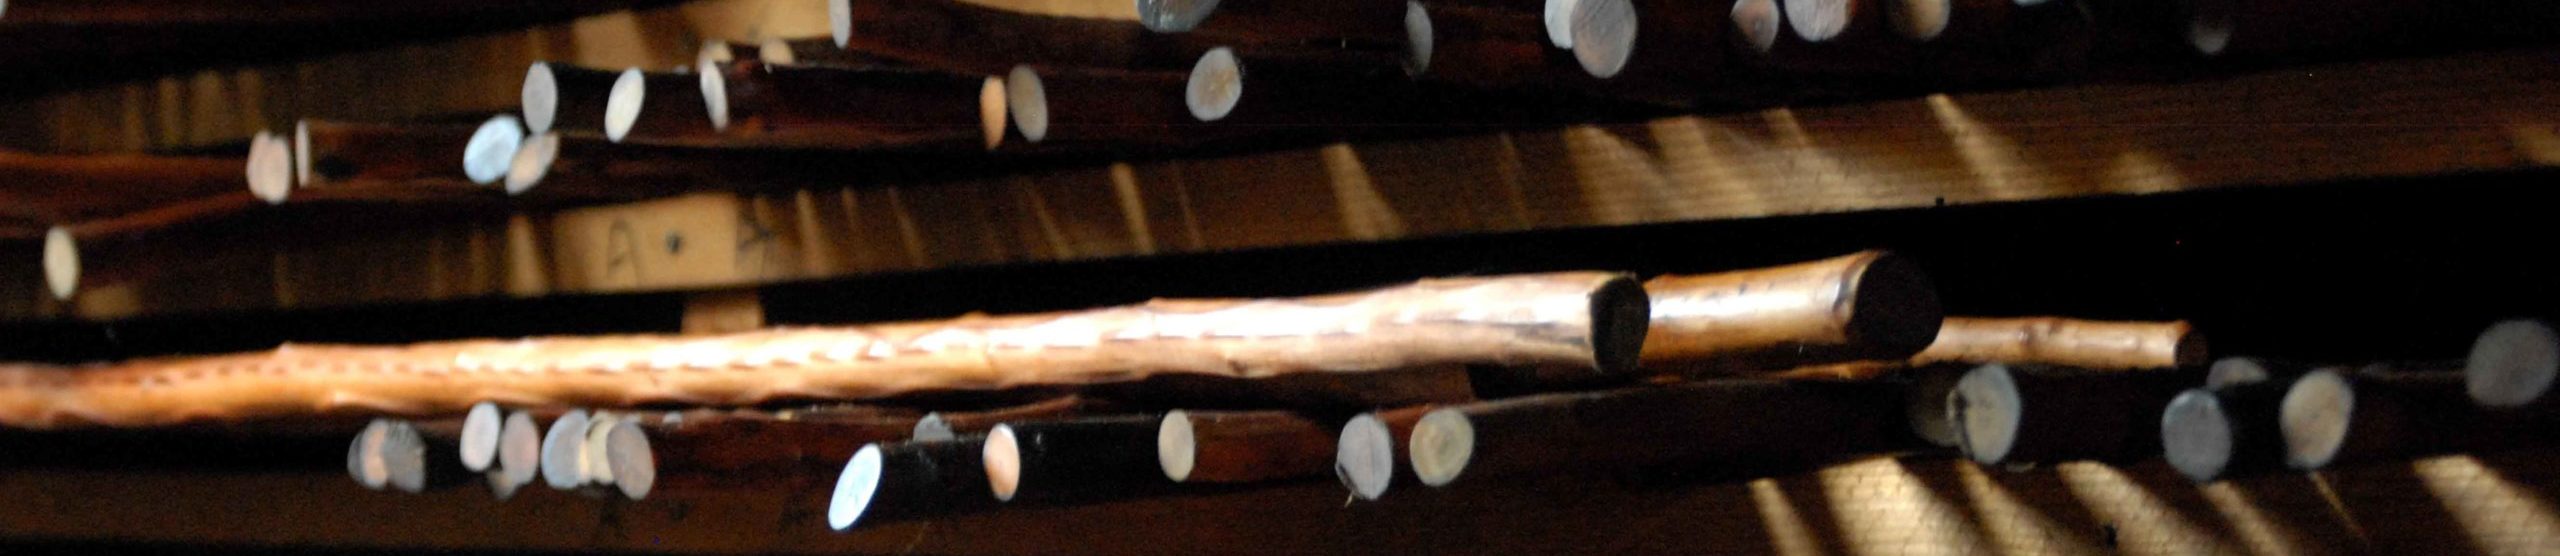
Medlar wood, the heart of the makhila (makila)
Working the medlar wood is what requires the most time and patience. It takes around ten years for the stem to be wide enough to be tapped. Once the scars have healed, the stem is cut, placed in a kiln to remove the bark, then the stem is rectified. After this, a long maturing stage lasting 10 years begins enabling the wood to be straight, solid and with a patina.

Leather braiding
 A very particular technique
A quality leather is needed to make the handle and strap. We use kidskin from a tannery in the Basque Country. We have chosen this leather for its resistance. We think this skill was inherited from our ancestors (Ainciart Bergara) who were weavers until the late 19th century.
A know-how kept secret
Weaving the strap of Ainciart Bergara makhilas is know-how passed on from one generation to the next, and a jealously kept secret. The lanyard includes highly technical know-how and the diameter is often different from one end to the other.
Many hours of training are needed to master this skill perfected hundreds of years ago by the Ainciart family. The lanyard is finished at the bottom with strips which are joined one by one. To weave the strap four-shaft weaving is used which, although less complex than weaving the handle, requires a great deal of dexterity and concentration.
From the plate to the ferrule
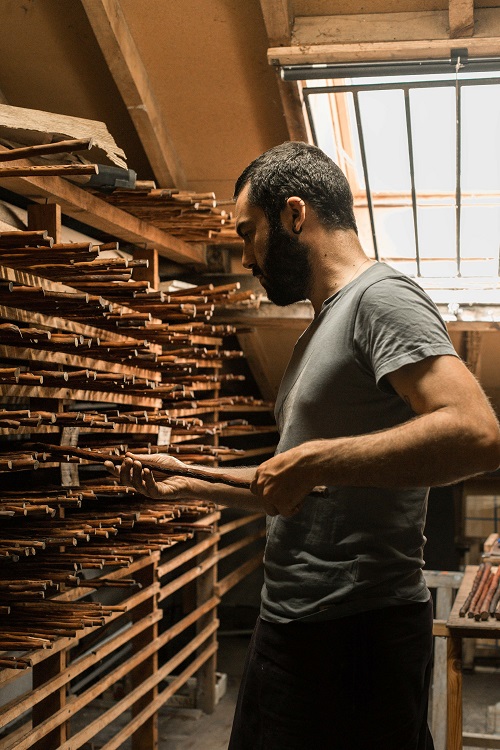
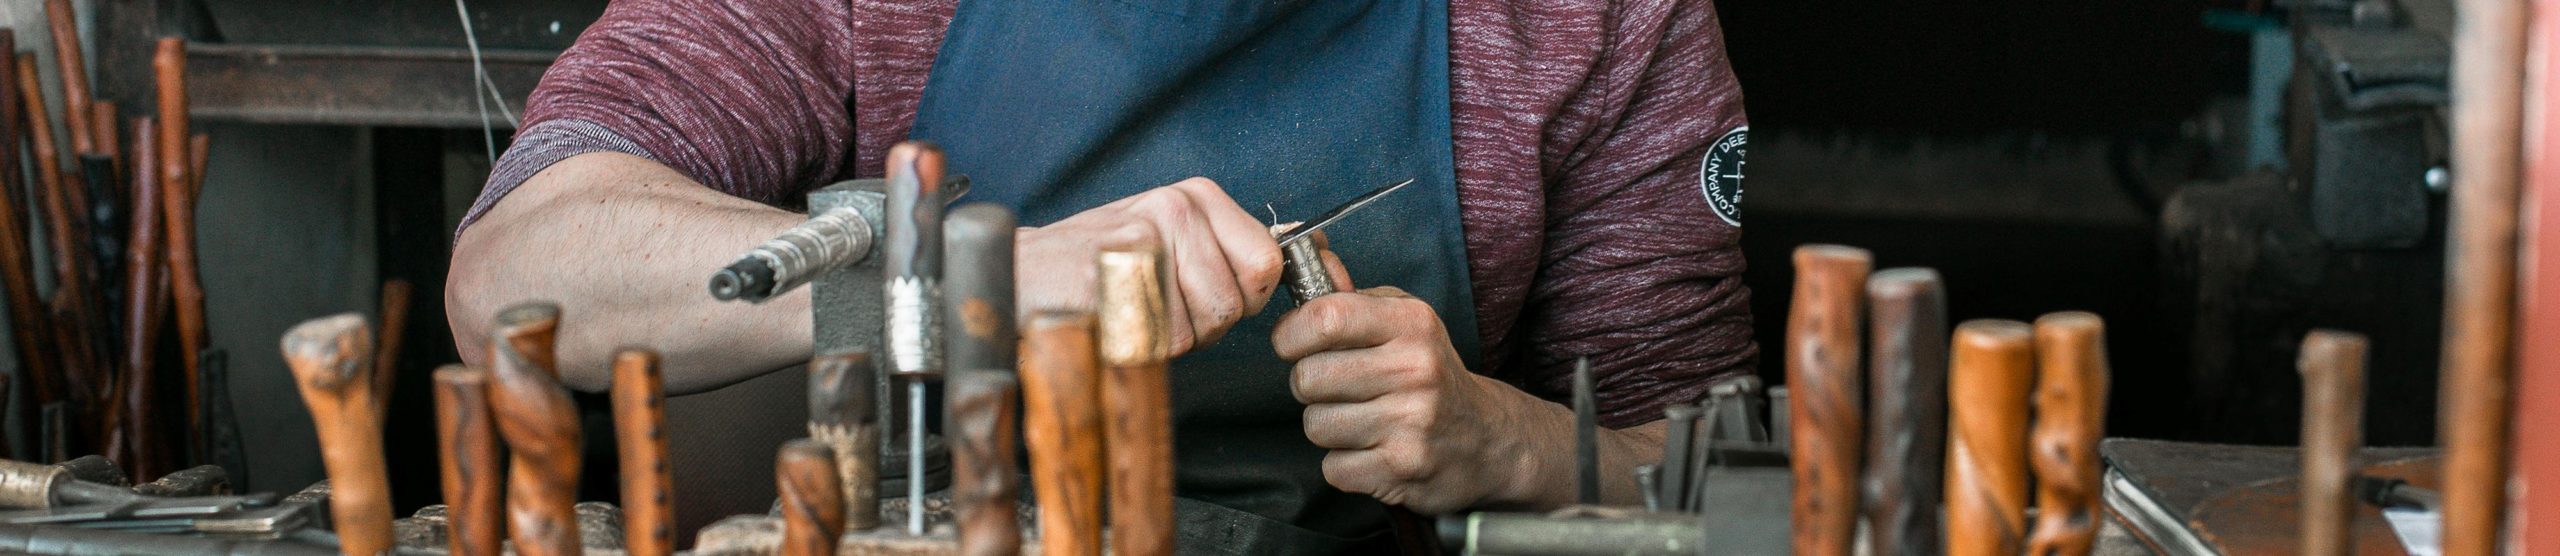
For each order we go into the loft to select the medlar stem which is best suited to the size and weight of the future Ainciart Bergara makhila user. All woods have different diameters, colours, spindles and lengths. Once the wood has been chosen, we transfer its measurements onto the metal plate (brass, nickel silver or silver) before cutting it.
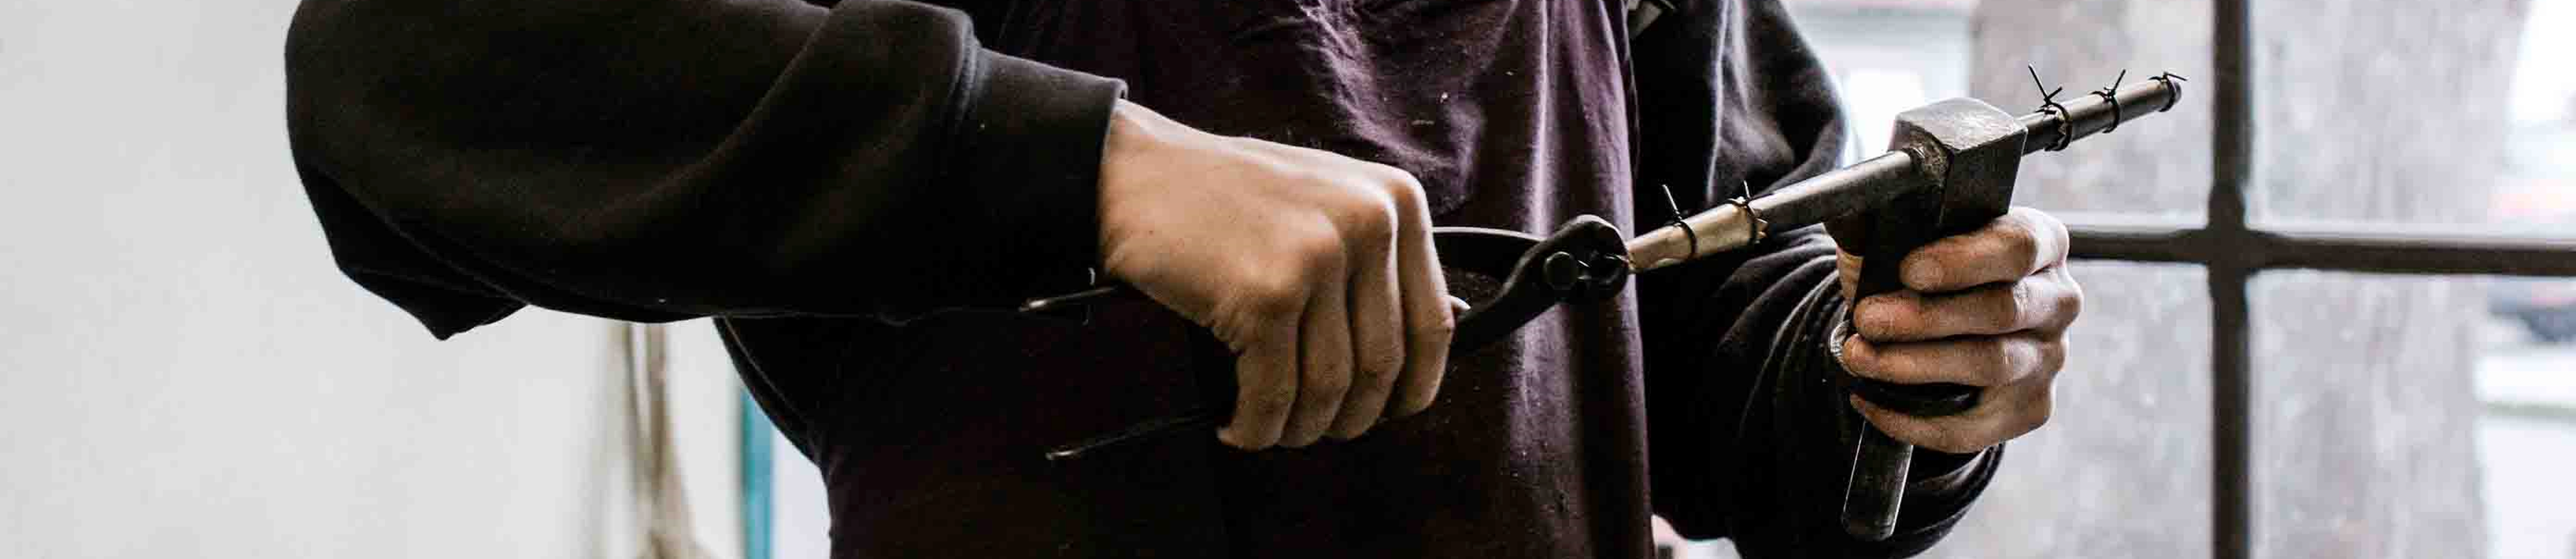
Cutting takes place according to a very precise process which gives conical ferrules whose end diameters are different. The top has a smaller diameter than the bottom. Once cut, the metal parts are shaped using a hammer. They are beaten until a cone is obtained, and then brazed.
Brazing is an essential step because this is what makes the join between the two parts of the metal plate invisible.
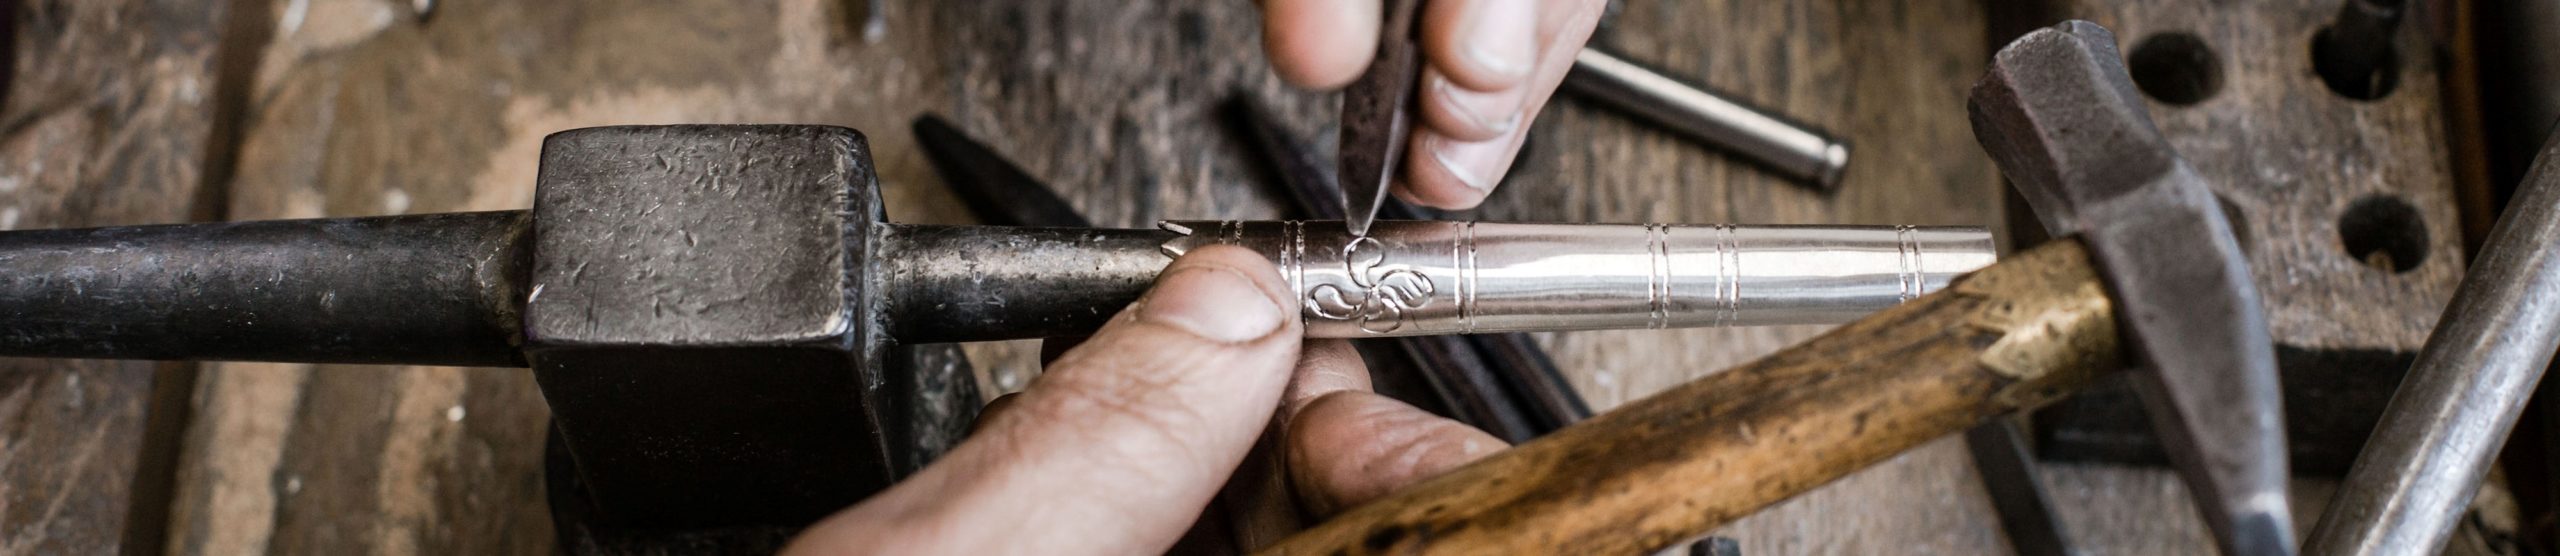
Decorating by stamping
Stamping enables decorative patterns as well as letters to be engraved on the ferrule. Each part is hand stamped with both patience and agility.
With regard to designs, we can find different patterns inherited from our ancestors, which are organised along the ferrule, separated by triangular filed sections. This is also used to create intersections and hachures.
For lettering, each makhila is customised with the first name, surname and motto (in Basque) of its future owner.
All our makhilas are also signed at the bottom: “Ainciart Larressore” before 1926 and “Ainciart Bergara – Larressore” after 1926. This signature enables you to check that your makhila really comes from our workshop. Finally, each makhila also has the year it was made.
Here are the main patterns on Ainciart Bergara makhilas: the Basque cross and fern, our “signature” engraving patterns.


Engraving initials
The initials are hand engraved on the handle. The technique used, known as “ornamental engraving”, enables metal to be removed using a burin to make the lettering appear.
The letters are engraved intertwined, a shape which is well suited to the round handle. They are made with upstrokes and downstrokes, which shows the engraving and makes it last over time.
The collection of letters is inspired by a model made in the 19th century by a very well-known French engraver: Charles Demengeot, who namely created a monogram using the twenty-six letters of the alphabet.
It is also possible to engrave drawings or coats of arms on request onto the metal handle.


Le montage des différentes pièces
 Once all the parts of the Ainciart Bergara makhila have been made (around 20): ferrule, handle, strap, braid, top spike, end spike, etc., assembly begins.
This means finding a unity of design while respecting the user’s balance to make it easier to walk. The wood’s line is extended by metal parts on the ends, the thin tip at the top and the thicker one at the bottom.
The makhila is assembled without adhesive, resin or lead. The parts are adjusted by forcing between the wood and metal. It is a very meticulous interlocking and fixing operation. Generally, the assembly is designed to make the joins invisible.
It is one of the most complex stages in making an Ainciart Bergara makhila because it requires a good eye, which can only be required with years of experience.
Repairing a makhila
Recognising where your Makhila comes from
We only repair makhilas made in our workshop, by our family, because we know exactly how they were made and assembled. Our workshop’s signature is visible at the base of the Makhila (see illustration) and corresponds to the inscription “Ainciart Bergara – Larressore” since 1926 or “Ainciart – Larressore” before this date.
NB. We can add a strap (leather lanyard) to any makhila since this does not require any assembly/dismantling.

A makhila is made to last several generations. Wear and tear due to use over time or using it intensively can damage certain parts of the makhila which we can repair in our workshop. The most common repair is replacing the strap.
It is also possible to change the horn on the handle, change the wood, replace the spike, etc.
For all repairs, just send us some photos of your makhila to atelier@makhila.com.
How to take care of your makhila
Whether you use your makhila regularly for hikes or just for decoration, we advise you to regularly take care of it to keep its qualities:

Caring for your Makhila’s wood
Caring for the wood is important because it stops it from drying out or losing its colour. From time to time use neutral furniture wax to keep its patina. If you like dark wood, prefer a dark cherry wood furniture wax.
Even if you have not nourished the wood for many years, it is never to late! Directly apply olive oil to the wood using your fingers. If the wood absorbs it, repeat. This deeply nourishes the fibres. Then, wait for a few days before applying the wax to make the wood shine once again.
Caring for your Makhila’s metal
You can care for the metal according to your taste: rarely if you like a patina effect, more often if you want the metal to shine. Clean the metal parts with a dry silver cloth (eg. Hagerty silver cloth).
We strongly advise against using liquid solutions like Miror because they can clog up the engraved parts.


Caring for your makhila’s leather
To nourish the leather, you can use Paulin grease to avoid damage to the leather.
If your Makhila has been damaged, we also provide a repair service. Contact us to find out more.
You are of course always welcome at our workshop in Larressore to give your makhila a makeover (waxing, polishing, etc.).